IOD
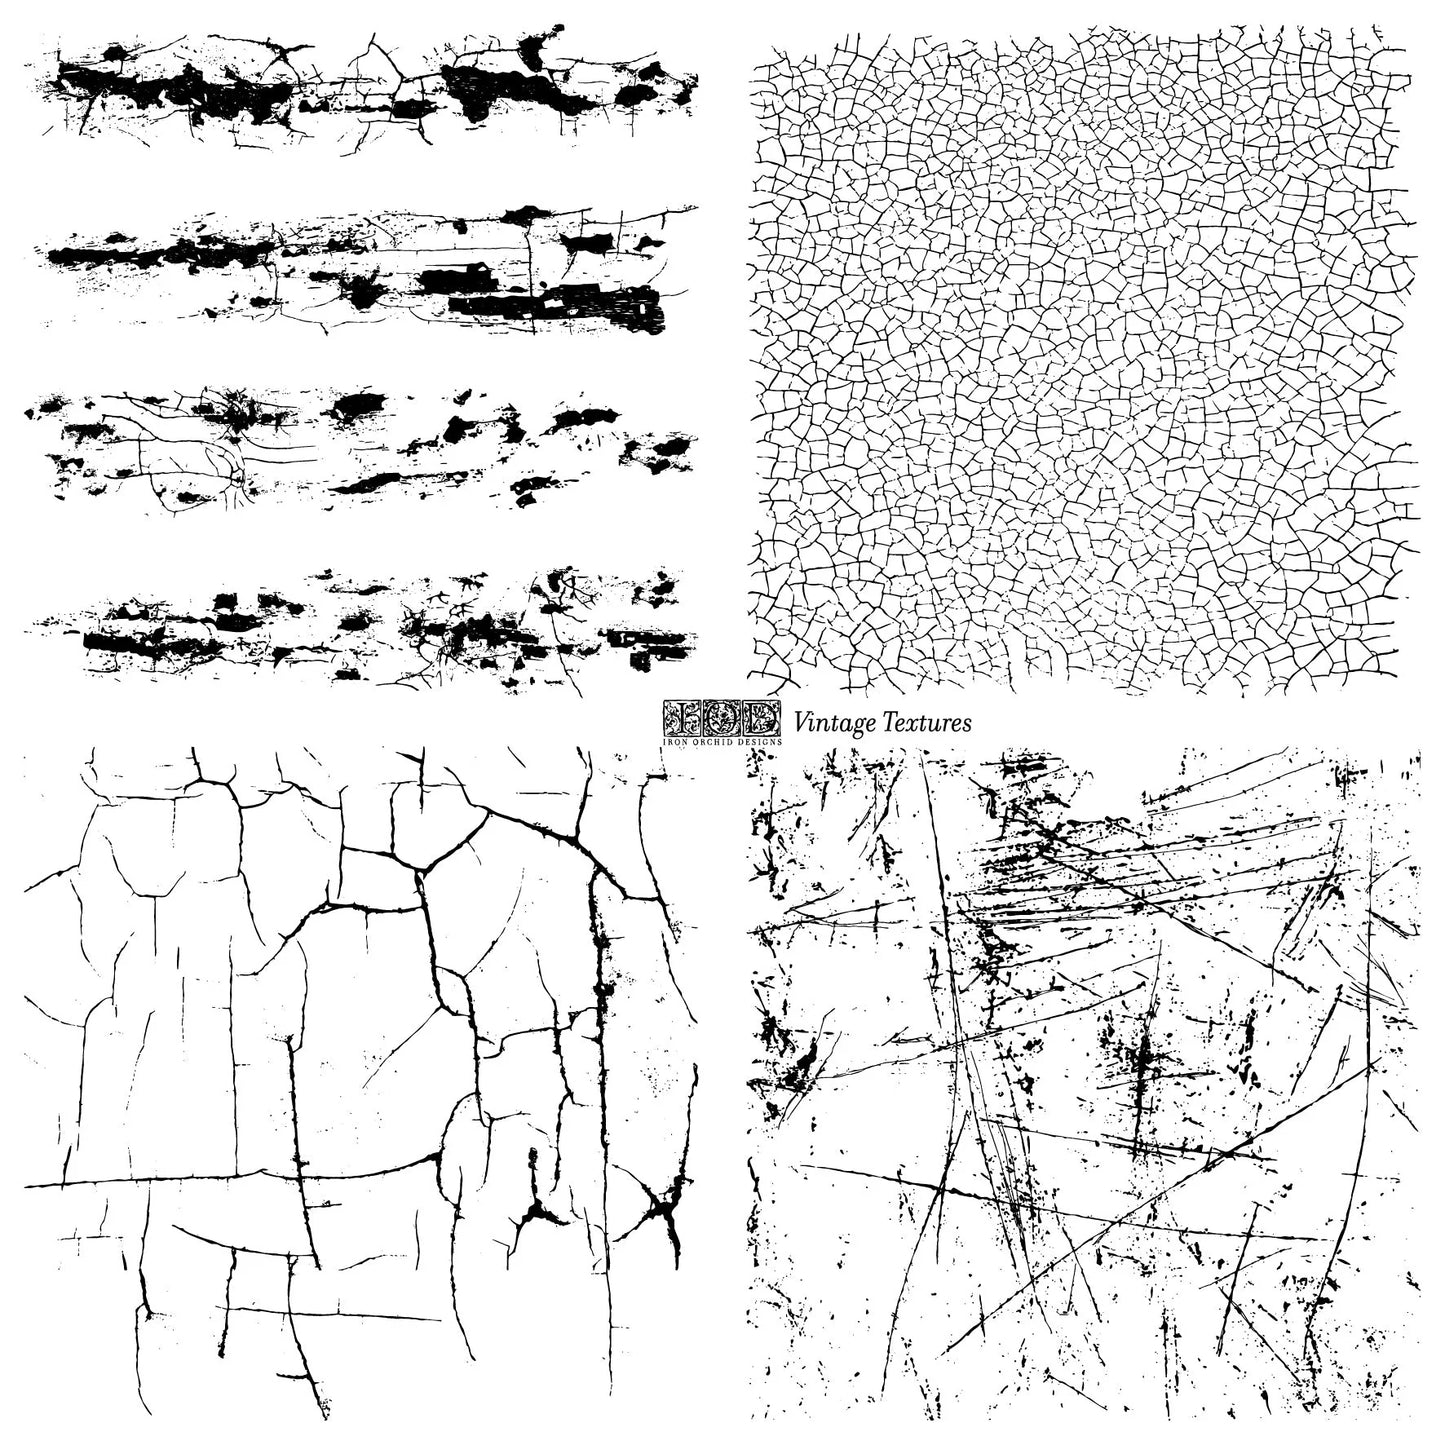
Vintage Textures
Vintage Textures
12 x 12
Couldn't load pickup availability
How to Prep
How to Prep
Did you just get your very first set of IOD stamps - beyond exciting, right?!? But
before you can get your hands dirty, you need to condition your stamps. You
only need to do this once and then your stamps will be set for life.
Start by removing the acrylic sheet attached to the stamping side of the design,
while leaving the stamps attached to their backing sheet. Using a fine grit
sand block scuff or rough up the stamping surface. Lightly sand in one
direction and then rotate the craft stamp 90 degrees and sand lightly in a
different direction.
This helps the mediums stay put, and not bead (which some types, like ceramics
glazes, tend to do). It also will give a cleaner impression.
To Remove the Backing or Not To...
To Remove the Backing or Not To...
Some of our stamps work best if you pull the stamp off the backing and use a thin
mount when stamping. Others work best if you leave the backing on and then
there are some that we keep the backing on, but cut each stamp out
separately. Let’s break down what you should do with which types of
stamps.
TYPOGRAPHY STAMPS
Any letter or alpha stamp set such as Typesetting, Farmhand, Retro and Swoosh:
Remove the stamp from the backing when ready to use (this takes some force, but
don’t worry, the stamps are strong). Arrange the stamps design side down on
your project, then lay an acrylic thin mount on top. Press to adhere the stamps
to the thin mount and then apply your medium. When you’re done using your
letter stamps, clean them and stick them to the backing for storage.
TEXTURE STAMPS
Any stamp that comes as a sheet such as Carrara Marble, Craquelure, Distressed,
Chippy Paint, Kindest Regards and Cubano: Leave the stamp in one piece on the
backing and the backing will work as your mounting surface.
INDIVIDUAL STAMPS WITH MULTIPLE DESIGNS
The majority of our stamps fall into this category. Examples are Painterly Rose,
Pavo, Fronds, and Crockery: Leave the stamps on the backing. Cut each design
out separately making sure to round the edges of the backing when you cut. The
backing will work as your mounting surface.
Different Mounts for Different Surfaces
Different Mounts for Different Surfaces
IOD THIN MOUNT WITH GRID & CURVED GUIDELINES
This is recommended for surfaces that are perfectly flat, for example, if you are
doing word art on a wood sign. Use the grid or curved lines as guides for the
lettering layout and for centering your stamps on the project surface.
FREESTYLE STAMPING
This is what we call it when you use a flexible piece of plastic, such as the
backing sheet that came with the stamps, as a mounting device.. This is great
for irregular surfaces such as walls or furniture (surprisingly, many furniture
surfaces that appear flat have dips- this method will conform nicely).
NO MOUNT
This is when you use the stamp without mounting it to anything. There are two common
scenarios that call for no mount. When you’re stamping a very curved surface,
such as on a flower pot or around the corner of a dresser.
When you need the stamps to have a little stretch For example, I stamped the front
of my cowboy boots, and was able to stretch the stamp and conform it cleanly to
the surface even though the boot is very curved. When using the bare stamp make
sure that your fingers don’t stick to it, this could cause the stamp to lift
from the surface and create an unintentional smudge.
IOD FLEXI-STAMPER
This specialty mount is in a class of its own. It’s a mount with a rigid edge for
gripping but a flexible area for mounting your stamp. Then, when you stamp, it
assists with applying even pressure on curved surfaces to give a clear
impression.
Whichever mounting method you use, the backside of the stamps and the mount must be
perfectly clean in order for the stamp to cling firmly to the surface. If you
find that your stamp isn’t sticking to your mount, wash it in warm soapy water
or, for a quick fix, you can wipe it clean with a baby wipe.
Surfaces and Application
Surfaces and Application
FURNITURE
Both painted and stained furniture can be stamped. In fact, this is one of the most
common uses for our stamps. You can use ink or paint, but generally we like the
look of paint for furniture.
FABRIC
When stamping fabric the load of medium should be generous in order to penetrate the
fibers. This means make sure your ink pad or brayer is extra juicy with ink or
paint when loading the stamp.
You’ll also want to spend a little extra time with the stamp pressed on the fabric
surface to give the fibers time to absorb the medium.
The look will be different with different levels of fabric texture. For example,
stamping a high thread count pillow will look different from stamping burlap.
Décor Ink, chalk paint and other fabric suitable mediums work well.
The ideal material for permanent washables is 100 percent cotton. However, blends
and some other natural fibers can sometimes work as well.
Do a small test to be sure. Allow your newly stamped fabric to dry/cure for a
minimum of 24 hours, then heat set with an iron on high heat before washing.
WALLS AND FLOORS
Walls are a fabulous surface opportunity for stamping. Create all over patterns that
are a level up from wallpaper, and completely custom, or use the IOD stamps to
create an old world border. We love using paint for wall applications!
SUGAR ARTS
Using a soft gel paste, you can stamp royal icing and fondant to take your desserts
from dull to delectable! This technique uses a brayer to apply the gel paste to
the stamp.
CERAMICS
You can use stamps to decorate pottery with glazes before firing or with embossing
powder after. Or you can stamp wet clay to create beautiful impressions.
Tips
Tips
- Hover the stamp over your project surface to line up where you want to stamp before stamping.
- Once you're ready to stamp, COMMIT and don’t shift. That means, once your stamp makes contact with the surface, keep it there otherwise
you might unintentionally smudge or create a double image. - Use one hand to hold the stamp, then use your other
hand to run your fingers over all the details of the stamp - apply even
pressure and ensure good contact. - Lift the stamp straight up off the project surface
when done stamping, again being careful not to shift. - Wipe your stamp clean with wipes immediately after
use to prevent the medium from drying on the stamp. - Last, and most important: Practice makes
perfect! Stamping isn’t hard, but it does take a little practice to
get it just right - especially as you try new medium and different surfaces to
get it just right.
Caring for your Stamps
Caring for your Stamps
We find that the easiest way to care for and clean stamps is to keep wet wipes
nearby, and avoid letting the medium dry all the way on the stamp surface.
Then, when you have time, wash them with mild soap and warm water. For some mediums you may find that you need a stamp cleaner. Use one that is safe for clear
stamps. After thoroughly cleaned, place them back on the clear backing for
storage
DO NOT use your stamps in high heat applications. This means puh-lease do NOT put
them in the dishwasher or leave them in a hot car otherwise they will be more
like shrinky-dinks than stamps. (Yikes!)